
not a bad fit, there is a bit of ridge at the joint, and the nose had to sanded square so the engine front would go on with no gaps. The top will have to be spread as its slightly too narrow for the upper wing gap and windshield.
Those internal frames bugged me, how to represent them, I could see them faintly on the plastic, so I thought let's try something. So I got a needle and scribed some lines on the inside of the screens, quite deeply. Then got some water colour black and mixed it with a few drops of Klear and with a fine brush brushed it into the grooves. Once dry I got a cotton bud dipped in alcohol and wiped the excess smudgey black off...

Also scribed the centre line as well, though I think maybe I should have done that on the outside.
Got the top glasshouse panels in, sanded and polished down...


Superglue gel was used fix them in, and the huge gaps around them filled with gel as well. Electrical insulation tape was used to cover the wing detail, as they were sanded flush. Polish with Micromesh and then a coat of Klear.
Could do more polishing but can't be arsed, they'll do, I'm itching to get to paint, and I'm erm 'annoyed' at the cleaning up everything needs...
Had a big gap at the wing centre section, which I've filled with a section of plasticard.

Tail feathers are on.
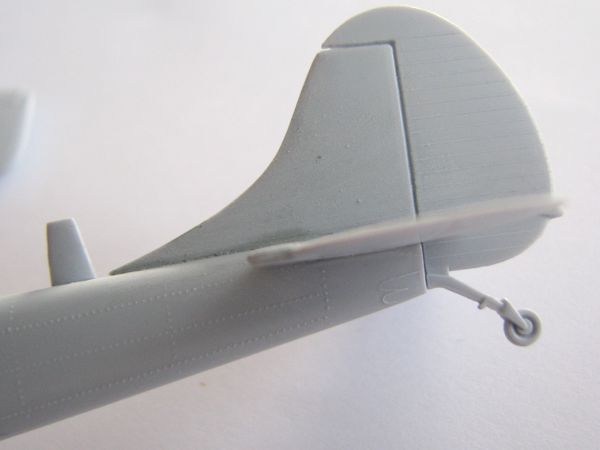
just a small gap at the fuselage to fin fillet point.
Masking then primer and orange paint, yum yum..
No comments:
Post a Comment